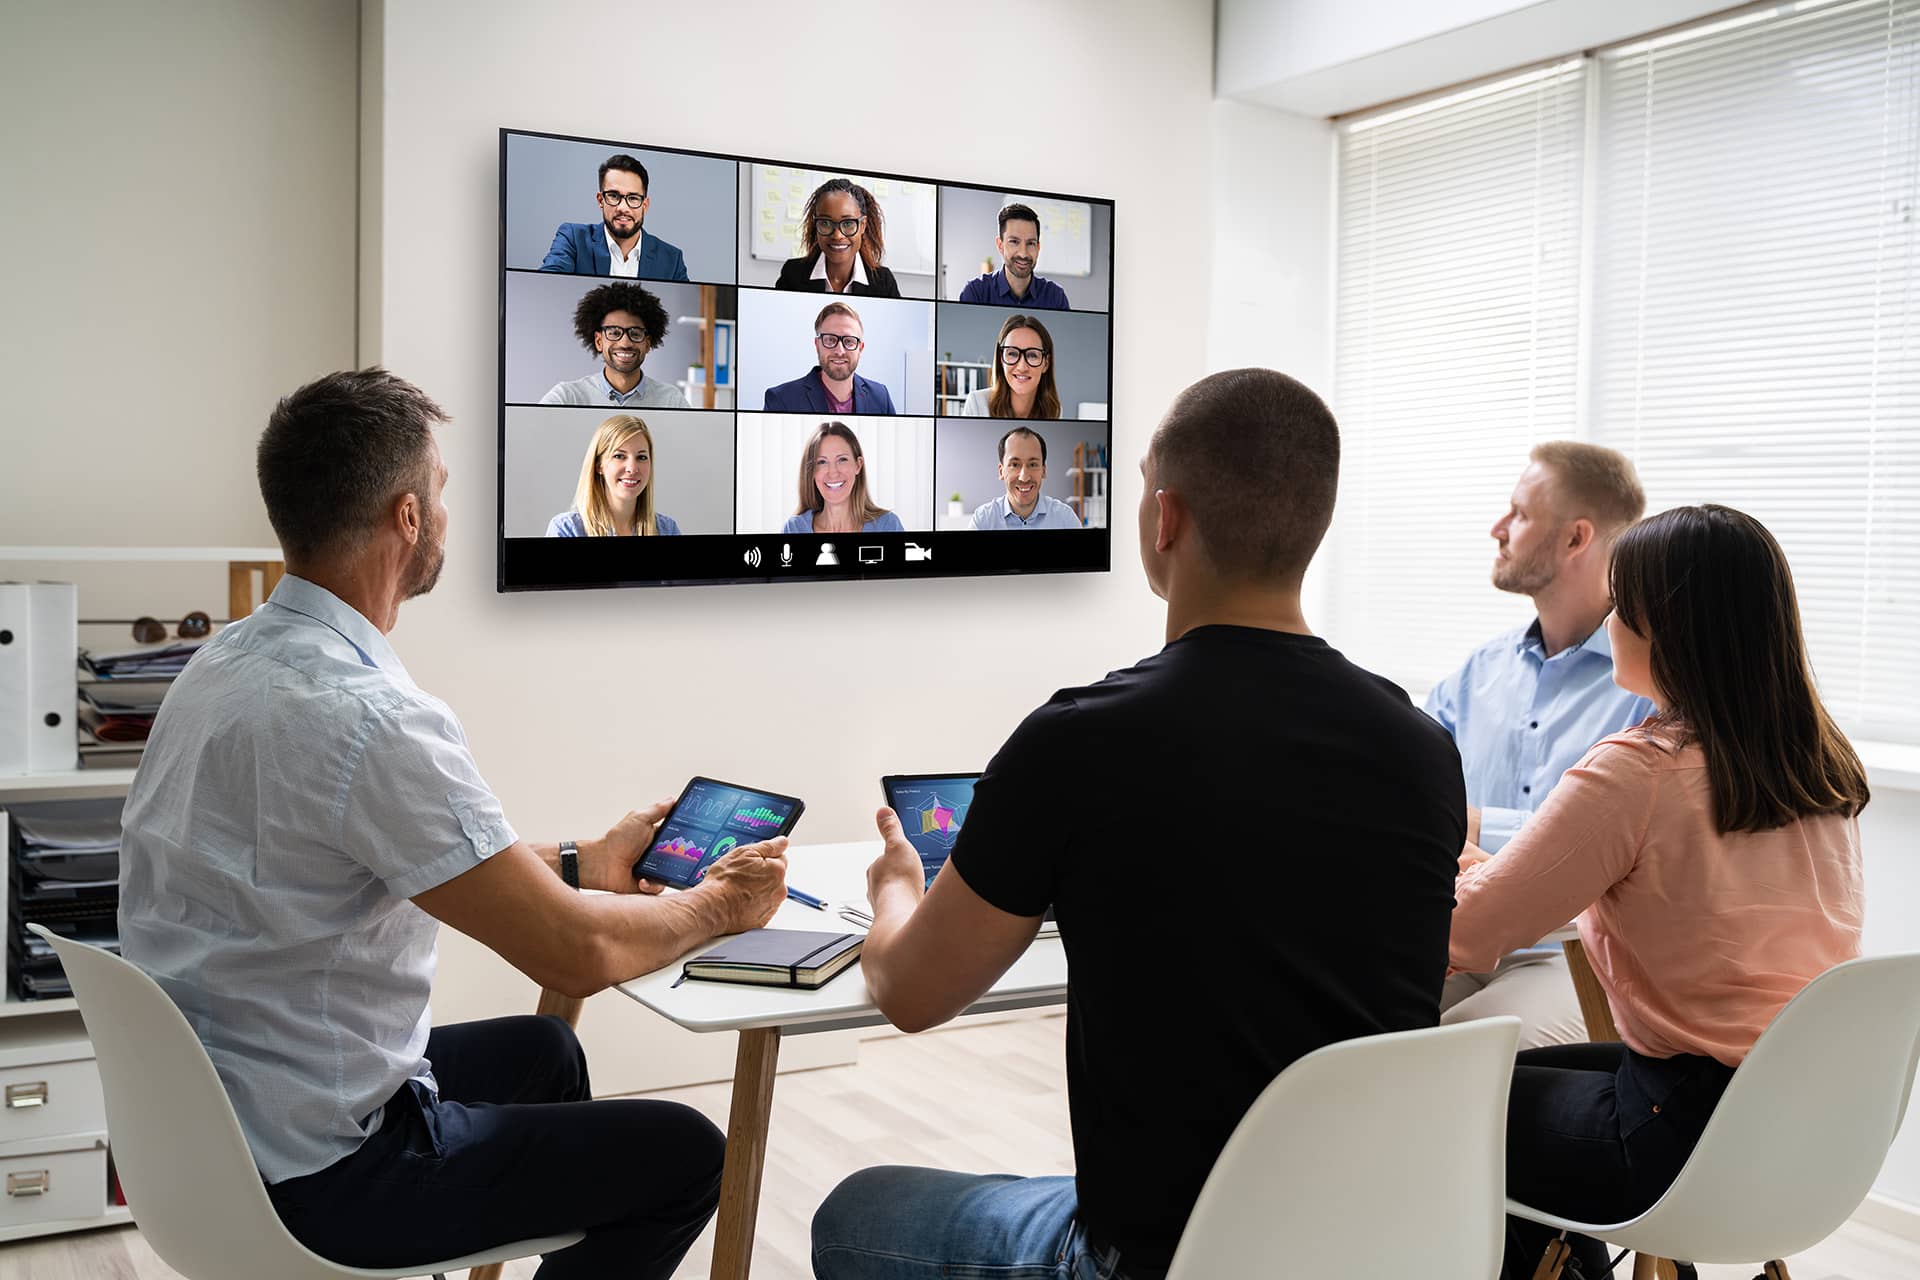
It’s no secret that Google, the world’s largest search engine, owns YouTube, a content-creation social media platform. Because of this, a YouTube channel is a great tool to promote yourself and your business by educating, entertaining, or any other type of content creation that interests you. Continue reading to learn how to build your YouTube channel from scratch and how to optimize the features.
First Things First
The first thing to recognize is the opportunities Youtube can bring to you and your brand. Now is the time to start your channel. More and more people are searching for content online, which you could capitalize on. There is always an audience for every type of content. The first step is to start today.
Next is finding your niche, finding your key demographic. Decide what you are interested in and determine if others would be interested as well. Interest and passion shines through the content you are providing so it is crucial to pick a topic that you are enthusiastic about. Try to find what people are searching for, the current results, and determine if you can provide better content.
The Basics
Now, focus on the nitty gritty. Start by working from the back of your channel to the front of it, the face. The first step is creating a Gmail account to be able to create a YouTube channel. From there you can either create a channel for yourself or your business, whichever serves your purpose the best.
When you gain 100 subscribers, you will have the option of customizing your channel’s URL to reflect your platform’s identity. Let’s move on to the Youtube homepage.
Click the sign-in button in the top right corner and sign in using the account you just set up. Once signed in, click on the top right icon to reveal a new menu pop-up. Select the “Create a New Channel” option, and a new pop-up window will appear. Select the “Get Started” option, here you will be offered two options for naming. Choose the “Use a Custom Name” option and enter the name you want for your channel. You can change this later if you want. However, make sure to pick a name that reflects the content you will be producing.
Add The Flavor
Now that you have built the back portion of your channel, it is time to start moving forward. Keep in mind that your channel will reflect what your business, content or even yourself is about. This is a crucial part of building your audience and how you can optimize your channel for maximum engagement.
Next, upload a photo to your profile. This can be a logo, product or even a photo of yourself. Just make sure you abide by the required dimensions for uploading the image.
From here, it is time to describe what your channel is about. It is very important to include leading keywords to optimize search potential.
Moving along, click the top right icon and select settings. Choose “Channel Status and Features” and a new window will appear. The default features are already enabled, but you are going to want to enable the more advanced features by selecting the “Verify Phone Number” option. Enter your information and click “submit”. Now that your channel has been verified, you have more options for customizations.
Keep The Momentum
Going back to settings, the two options should now be green or enabled. Select the channel option and then start to enter the basic information to make your channel more robust. Select your location, and below that, add keywords that will make your channel ad content easy to find. This is arguably the most important step so far because it will bring people to your channel.
In the advanced settings, make sure that you select the appropriate option for specifying if your content is suitable for children or not. Also, link your Google Ads here if you have one. Leave the rest of the settings alone for now.
Now, select “Upload Defaults” and start adding the default information that will appear every time you upload a video. Remember, every video must have its own title, description, thumbnail, playlist and language if you are uploading in multiple languages. Leave the rest of the settings be. Click “Save” and you are ready to go. What will appear is the Dashboard, where you will see all the essential information about your channel, including the number of subscribers, views, most popular videos, etc.
Make Your Mark
Next, organize your channel further by adding additional customizations. Click on the blue “Customize Channel” button on your home page or the “Customization” option on your dashboard’s left menu.
Consider adding a homepage video to your page, as it will give an extra level of professionalism to new visitors. It is your first presentation for people wanting to know more about your channel. If you don’t have one to add yet, record one explaining what your channel is about to further your viewer’s understanding.
At the bottom of the page, you can start creating playlists to organize your videos once you start uploading content. This is important because it helps views navigate your channel.
Now, you should add the actual brand identity. Navigate to “Branding”. Here you will upload a new profile picture, banner image and video watermark. Since you have already uploaded a profile photo, use your banner space to display a product photo or text to further describe your channel. Make sure to see how different screens sizes will view the images and that the images follow the sizing guidelines. Once completed, click done, publish and refresh your page.
Keep In Mind
There are a few tools you should keep in the back of your mind that can help grow your channel in the future and strengthen your branding.
TuberTools has everything you need to customize your YouTube channel by providing templates and even ready-to-go graphics. Some free or low-cost options are Canva or Adobe Spark. Play around with the features to see which option fits your needs the best.
Wrap It Up
Lastly, access your channel or user identification to register it on other social media apps in the advanced setting. Also, learn about how you can customize your URL once you reach 100 subscribers.
You are now ready to upload content and grow your channel.
For more information, check out our YouTube video.