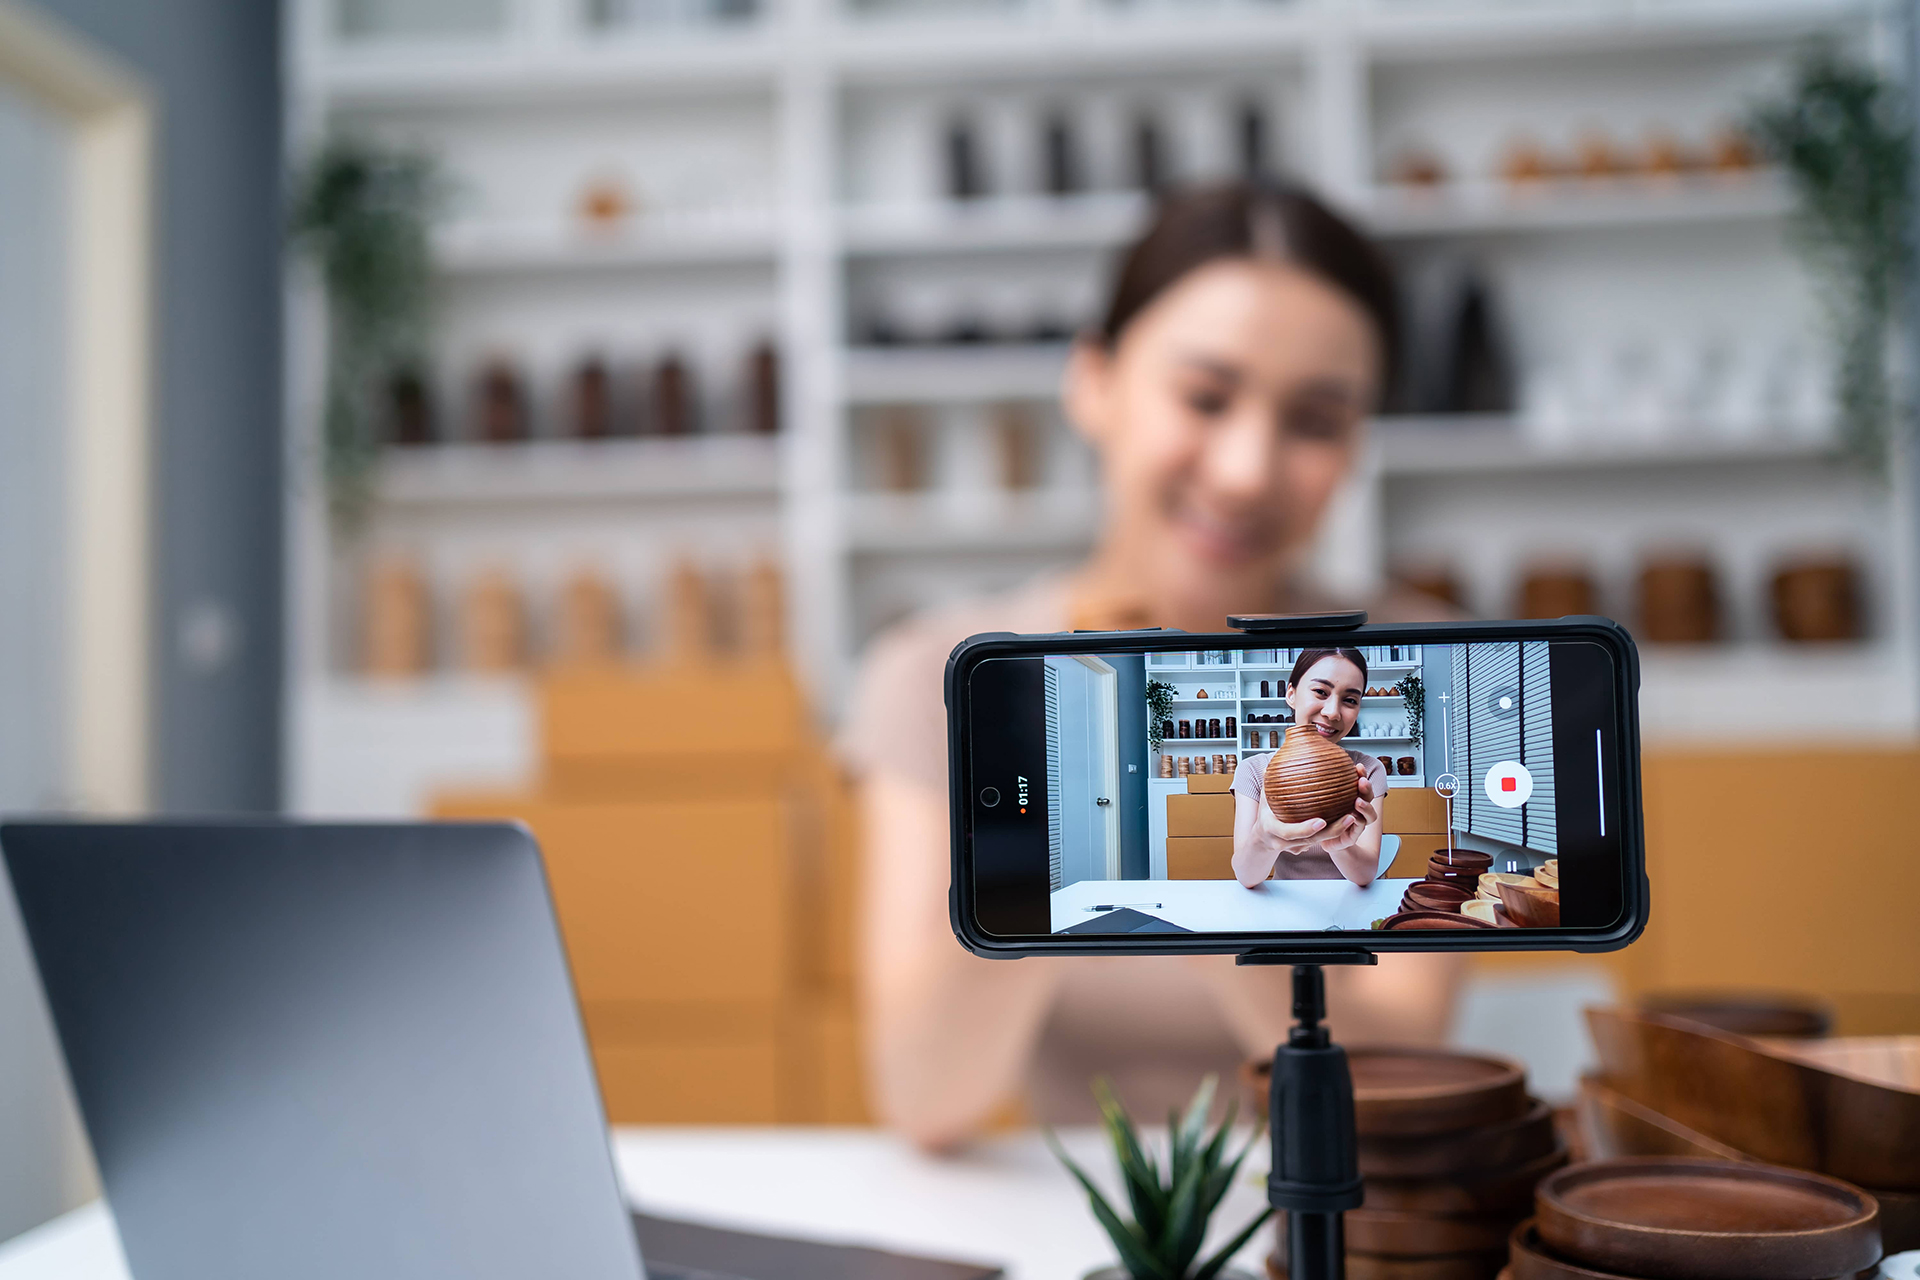
Live streaming has taken over the world in the past few years. For personal, professional or academic use, live streaming has been utilized to connect with others, present information, and host various events. In order to live stream on a platform like YouTube, you should know more about the equipment and third-party software needed to produce better quality live streaming presentations.
Elements To Consider
The gear you use to set up live streams directly correlates to the level of quality your live stream will be displayed in. In order to fully capitalize on Youtube’s live-streaming feature, consider investing in the following products.
- DSLR camera, like a Nikon D7500
- Wireless microphones or boom microphones, like a RODE Wireless Go or RODE VideoPro
- On-camera light, like a SUPON L122T Camera Light
- HDMI interface unit, like the Cam Link 4K from ElGato
- Video switcher, options vary depending on budget
- Computer with a USB connection
- Good internet connection – check the speed of your connection before live streaming
- Youtube recommends:
- Between 3.8-7.4MBPS for 1080p streaming
- Between 24.2-6.1MBPS for 4K streaming
- Youtube recommends:
- Livestream software, such as OBS Studio, Ecamm, Streamlabs, Xplit , and/or vMix
Points To Remember
Before starting to livestream, keep the following in mind:
- Confirm that your YouTube channel is enabled for live streaming
- Navigate to www.youtube.com/verify
- If it isn’t, follow the steps on the screen to enable the channel
- If it is, continue to the channel’s main page
- Once on the main page, proceed to the cam
- Click “Go Live”
- You will be presented with two options: Stream or Webcam
How To Livestream
From here, follow the steps below:
- Create a strong and/or impactful title
- Make the stream public, unlisted or private
- If you want to stream later, schedule your livestream for a later time
- Specify if the stream is made for kids or needs to be restricted to an adult audience
- Add a description to let people know what the stream is about
- Complete the rest of the options before clicking next
- Next, create and upload a thumbnail
- Click “Go Live” when ready
- To end the stream, click the red “End Stream” button
- Once finished, you can edit it using YouTube’s video editor
- Finally, list the live video and check your analytics and information
How To Use Webcam
If using a webcam fits your needs the best, follow the directions below:
- Create a strong and/or impactful title
- Make the stream public, unlisted or private
- If you want to stream later, schedule your livestream for a later time
- Create and upload a thumbnail
- Specify if the stream is made for kids or needs to be restricted to an adult audience
- Create “Stream”
- Once you enter you livestream control room, complete the final options
- Copy and paste the stream key in your live stream software (be careful not to show the key) or utilize third-party software, like Ecamm, you can live stream directly from
- Click “Go Live”
- To end the stream, click the red “End Stream” button
- Once finished, you can edit it using YouTube’s video editor
- Finally, list the live video and check your analytics and information
Ready To Go
Now that you know how to live stream on YouTube, you can go through this process on your own. For more information, check out our YouTube explainer video.


